- Published on
Run an AI Agent for Free using $10 Monthly Google Credits
- Authors

- Name
- Sabarni Das
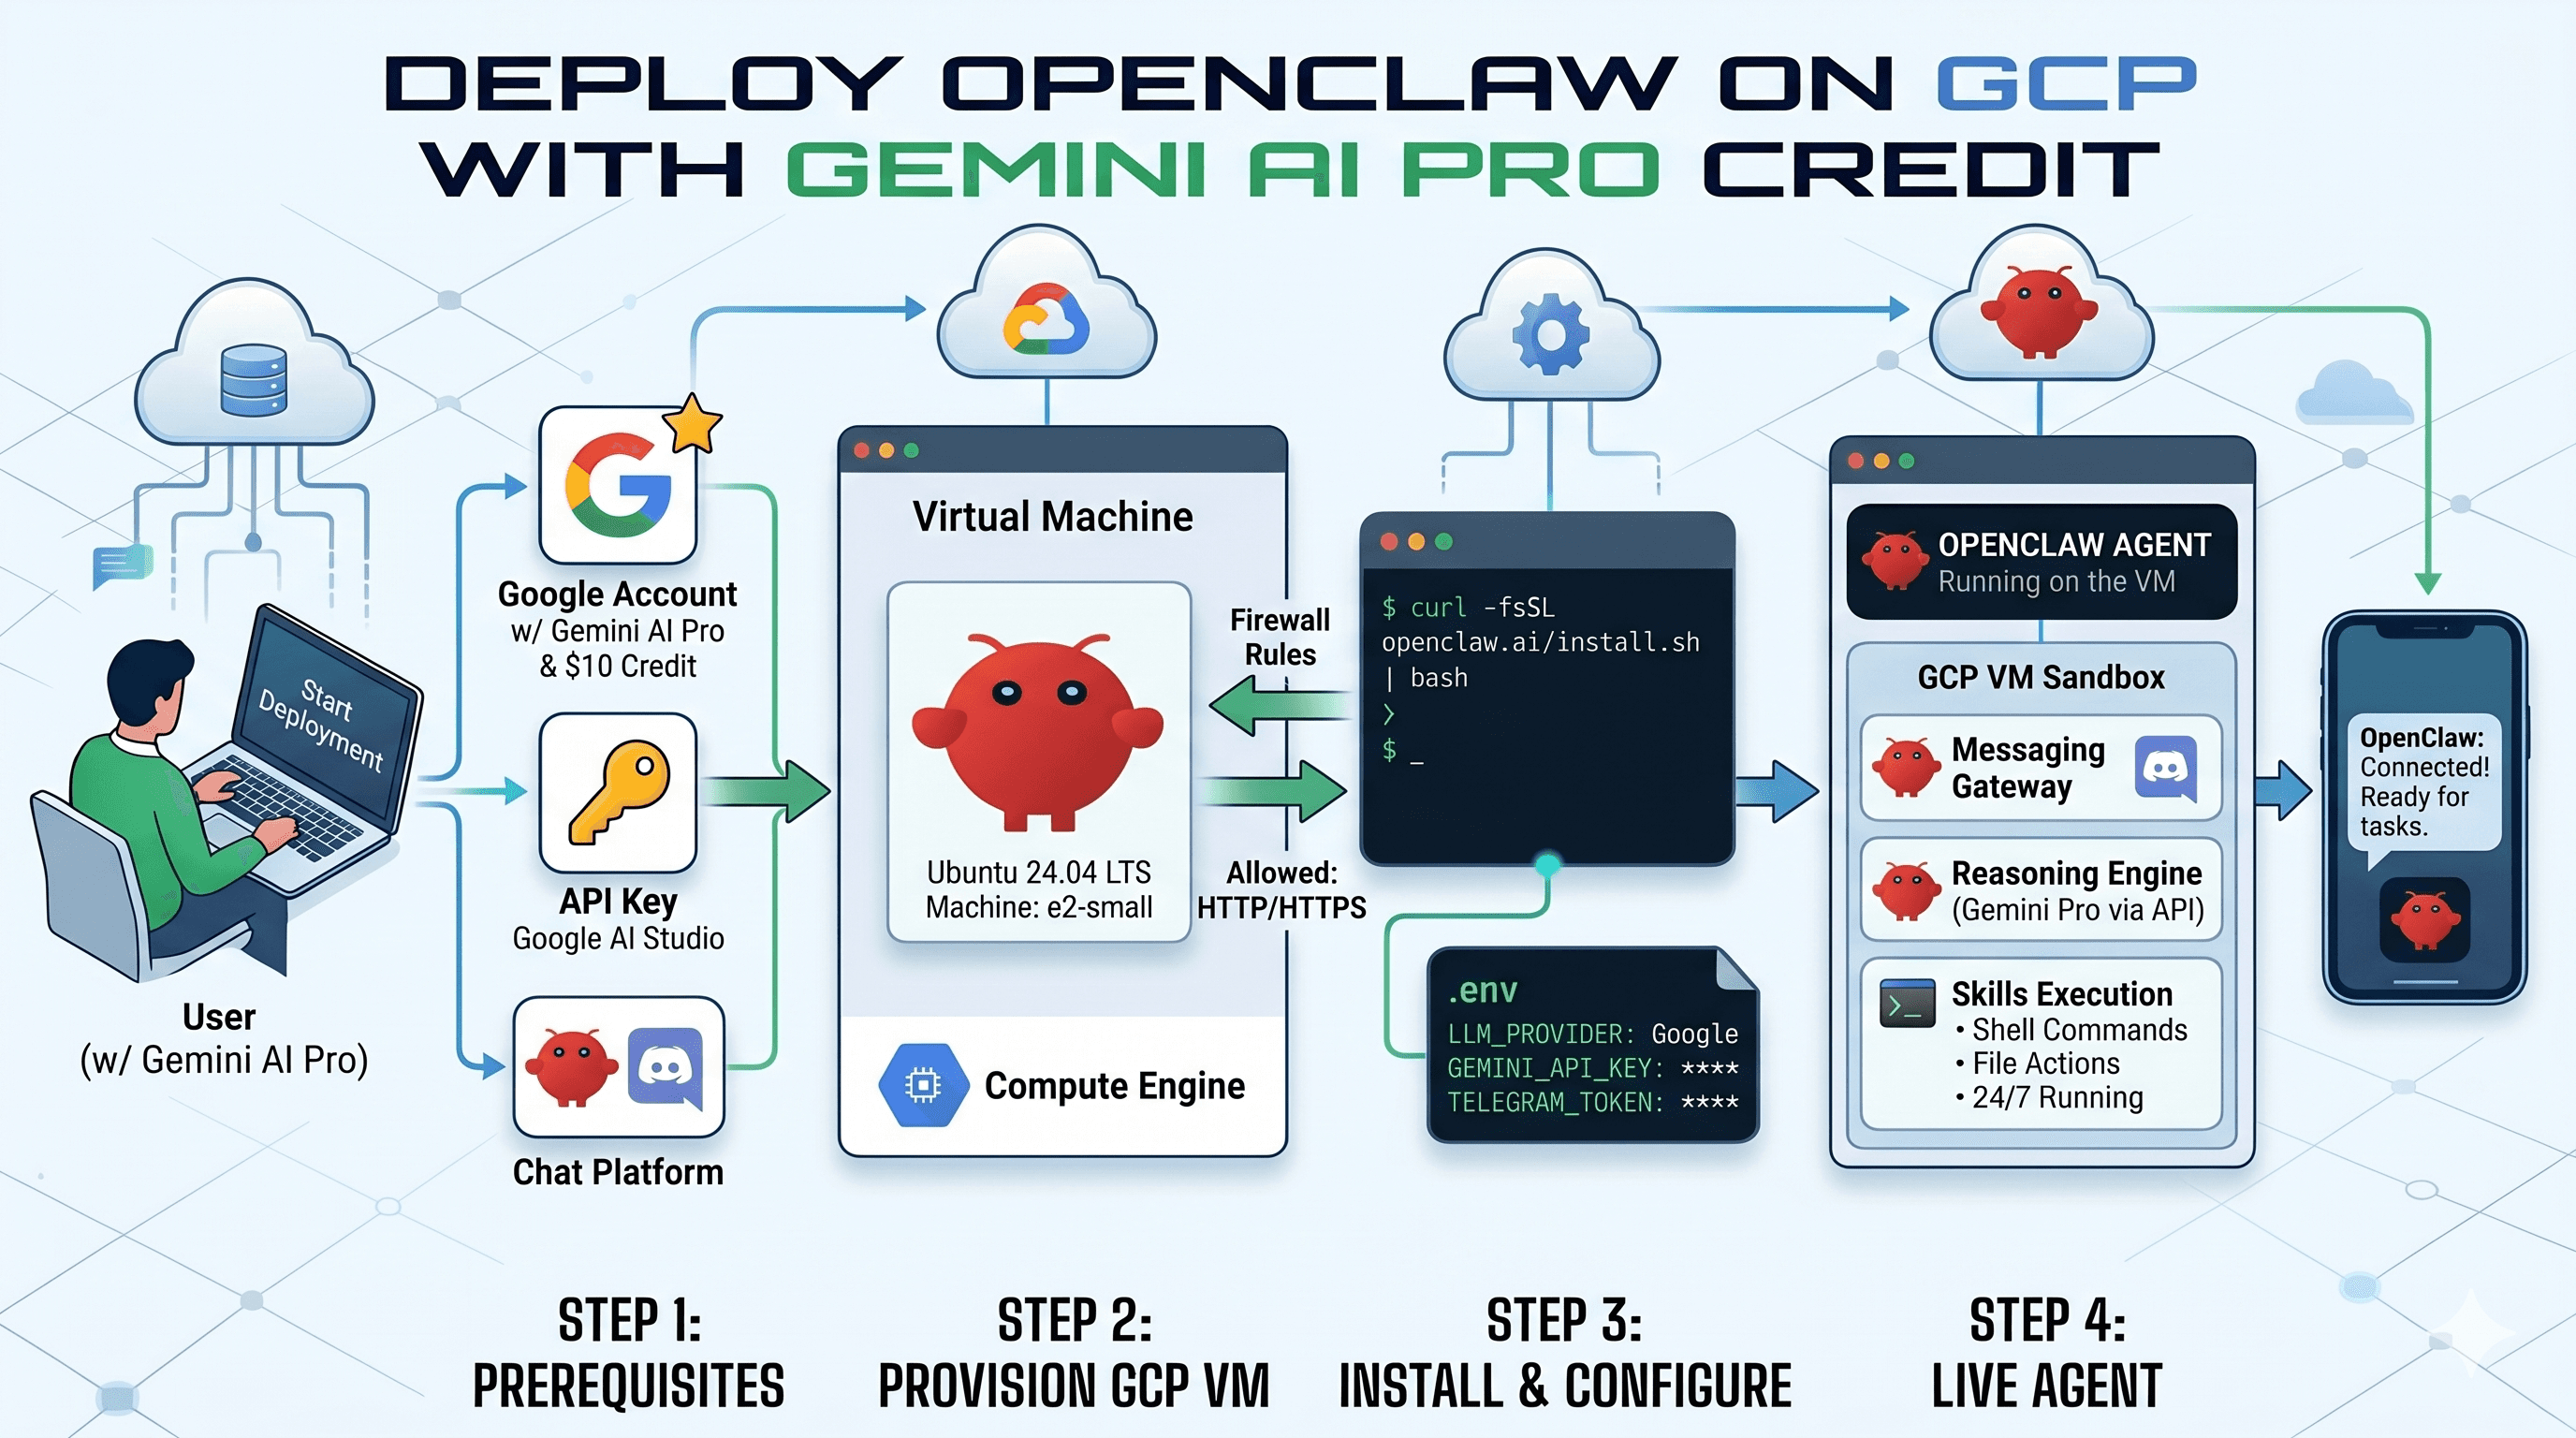
Host your own private AI assistant for zero dollars out-of-pocket.
Google Cloud gives ten dollars in monthly free credits to many developer accounts. This guide shows you how to use those credits to run your own OpenClaw agent.
The Ten Dollar Budget Strategy
Most cloud setups cost between twenty and fifty dollars a month. You can hit the ten dollar target by using a Spot instance and efficient configuration.
Why Spot Instances?
Spot Instances allow you to use Google's spare capacity at a massive 60 to 91 percent discount. While Google can technically reclaim the machine if a full-paying customer needs it, a quick 30-second restart every few days is a fair trade for saving over 100 dollars a year.
Connectivity without Static IPs
The biggest challenge with Spot instances is the IP address change. Every time the machine restarts, Google assigns it a new public address. This would normally break a traditional domain name and require a static IP reservation. However, Google charges about three dollars and thirty cents a month just to hold that address, which would eat over 30 percent of your total budget.
Tailscale and MagicDNS solve this. Tailscale creates a secure, private network between your devices, while its MagicDNS feature assigns your VM a permanent hostname (like https://openclaw-agent.tailnet-id.ts.net). This name never changes, even when the underlying IP does.
Step 1: Set up Google Cloud Services
1.1 Create a New Project
Before you can start your agent, you need a "Project" to hold your resources.
- Visit the Console: Go to the Google Cloud Resource Manager.
- Fill in the Details:
- Project Name: Enter
My AI Agent(or any name you like). - Project ID: Copy this ID down—you will need it for Step 3.
- Project Name: Enter
- Click Create.
1.2 Enable APIs
Once your project is created, enable these two services:
- Vertex AI: Visit the Vertex AI Dashboard and click Enable All Recommended APIs.
- Compute Engine: Visit the VM Instances page and wait for the hardware dashboard to initialize.
Step 2: Create the VM
Run this command to create an optimized server. Replace [YOUR_PROJECT_ID] with your ID from Step 1.
gcloud compute instances create openclaw-agent \
    --project=[YOUR_PROJECT_ID] \
    --zone=us-central1-a \
    --machine-type=e2-small \
    --provisioning-model=SPOT \
    --instance-termination-action=STOP \
    --image-project=ubuntu-os-cloud \
    --image-family=ubuntu-2204-lts \
    --boot-disk-size=20GB \
    --tags=http-server,https-server
Step 3: Secure Private Access (Tailscale)
- SSH into the server:
gcloud compute ssh openclaw-agent - Install Tailscale:
curl -fsSL https://tailscale.com/install.sh | sh sudo tailscale up --ssh - Authenticate: Paste the printed URL into your browser to log in.
- On your laptop: Install the Tailscale App and log in.
Step 4: Install OpenClaw
We use the official global installer for the best stability on low-resource VMs.
# 1. Install Node.js 22
curl -fsSL https://deb.nodesource.com/setup_22.x | sudo -E bash -
sudo apt-get install -y nodejs

# 2. Install OpenClaw globally
curl -sSL https://install.openclaw.ai | bash

# 3. Install PM2 for process management
sudo npm install -g pm2
Step 5: AI Bridge (LiteLLM)
OpenClaw works best with Vertex AI via a LiteLLM Proxy bridge.
# 1. Setup environment
python3 -m venv ~/litellm-env
~/litellm-env/bin/pip install 'litellm[proxy]' google-cloud-aiplatform

# 2. Configure ~/litellm_config.yaml
cat <<EOF > ~/litellm_config.yaml
model_list:
  - model_name: gemini-2.5-flash
    litellm_params:
      model: vertex_ai/gemini-2.5-flash
      vertex_project: [YOUR_PROJECT_ID]
      vertex_location: global
EOF

# 3. Start with PM2
pm2 start ~/litellm-env/bin/litellm --name litellm-proxy --interpreter none -- --config ~/litellm_config.yaml --port 4000
Step 6: Configure OpenClaw
Initialize your configuration at ~/.openclaw/openclaw.json:
{
  "gateway": {
    "tailscale": { "mode": "serve" },
    "bind": "loopback",
    "auth": { "allowTailscale": true }
  },
  "auth": {
    "profiles": {
      "openai:default": {
        "provider": "openai",
        "mode": "api_key",
        "key": "sk-dummy",
        "baseUrl": "http://127.0.0.1:4000/v1"
      }
    }
  },
  "channels": {
    "telegram": {
      "enabled": true,
      "botToken": "YOUR_TELEGRAM_BOT_TOKEN"
    }
  }
}
Start the gateway:
pm2 start openclaw -- gateway --allow-unconfigured
pm2 save
Step 7: Persistent Custom Skills
To ensure your custom skills survive core updates, store them in the workspace directory.
- Create the directory:
mkdir -p ~/.openclaw/workspace/skills/ - Move your skill there.
- OpenClaw will automatically detect and load skills from this path.
Step 9: Make it Resilient (Auto-Restart and Alerts)
Since we are using Spot Instances, Google might take your VM back during the day. We can automate the "Restart" button and set up alerts so you never stay offline for long.
9.1 Preemption Monitor (Telegram Alerts)
This script runs in the background and listens for Google's "30-second warning." It will send you a Telegram message before the VM shuts down.
- Create the script:
nano ~/preempt_monitor.py - Paste this code:
import requests import time import os import json def get_config(): try: with open(os.path.expanduser('~/.openclaw/openclaw.json'), 'r') as f: return json.load(f) except Exception as e: print(f'Error reading config: {e}') return None def send_telegram(message, token, chat_id): url = f'https://api.telegram.org/bot{token}/sendMessage' try: requests.post(url, json={'chat_id': chat_id, 'text': message}, timeout=10) except Exception as e: print(f'Error sending Telegram: {e}') def check_preemption(): config = get_config() if not config: return token = config.get('channels', {}).get('telegram', {}).get('botToken') chat_id = config.get('channels', {}).get('telegram', {}).get('chatId', '[YOUR_CHAT_ID]') if not token: print('Error: TELEGRAM_BOT_TOKEN not found in openclaw.json') return # Google Metadata URL for preemption url = 'http://metadata.google.internal/computeMetadata/v1/instance/preempted' headers = {'Metadata-Flavor': 'Google'} print('Preemption monitor started...') while True: try: response = requests.get(url, headers=headers, timeout=5) if response.status_code == 200 and response.text == 'TRUE': print('PREEMPTION DETECTED!') send_telegram('⚠️ Google is reclaiming the VM. Offline in 30 seconds!', token, chat_id) time.sleep(60) else: time.sleep(5) except Exception as e: print(f'Monitor error: {e}') time.sleep(10) if __name__ == '__main__': check_preemption() - Start with PM2:
pm2 start ~/preempt_monitor.py --name preempt-monitor --interpreter python3
9.2 Heartbeat Restarter (Cloud Scheduler)
To ensure the VM stays on during the day, we use Cloud Scheduler to press the "Start" button for us every 15 minutes.
Run this on your local computer terminal:
gcloud scheduler jobs create http openclaw-heartbeat \
    --project=[YOUR_PROJECT_ID] \
    --location=us-central1 \
    --schedule="*/15 9-21 * * *" \
    --time-zone="[YOUR_TIMEZONE]" \
    --uri="https://compute.googleapis.com/compute/v1/projects/[YOUR_PROJECT_ID]/zones/us-central1-a/instances/openclaw-agent/start" \
    --http-method=POST \
    --oauth-service-account-email="[YOUR_PROJECT_NUMBER]-compute@developer.gserviceaccount.com"
Note: This job checks your VM every 15 minutes during the day and turns it on only if it was stopped. Important: Ensure your service account has the roles/compute.instanceAdmin role on the project and the roles/iam.serviceAccountUser role on itself for authentication to work.
(24/7 Uptime)
| Item | Cost |
|---|---|
| Compute (Spot e2-small) | ~$1.40 |
| Storage (20GB) | ~$2.00 |
| AI (Gemini 2.5 Flash) | ~$5.00 |
| Total | ~$8.40 |
By using Spot instances and free credits, you can run a state-of-the-art AI agent for effectively zero dollars out-of-pocket, with a significant buffer for heavy usage.